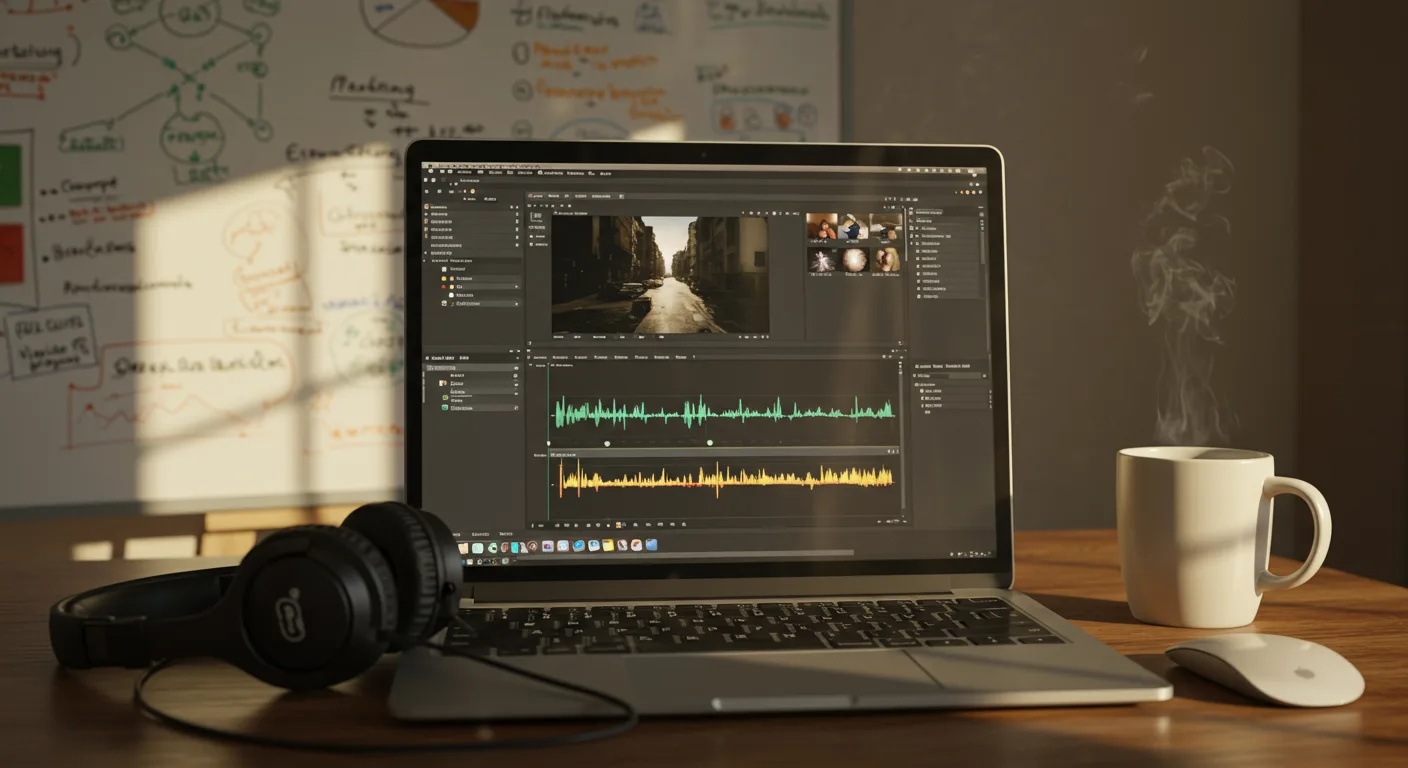
Mastering Final Cut Pro isn’t just about knowing the buttons; it’s about transforming raw footage into compelling stories that drive results for your marketing efforts. This isn’t theoretical advice; these are the exact strategies my agency implements daily to cut through the noise and capture audience attention.
Key Takeaways
- Implement a custom keyboard shortcut set for common actions like ‘Blade’ (B) and ‘Select’ (A) to reduce editing time by up to 30%.
- Utilize Roles to organize audio tracks into ‘Dialogue’, ‘Music’, and ‘SFX’ for faster mixing and exporting, saving an average of 1-2 hours per project.
- Leverage Compound Clips for complex sequences like intros or lower thirds, reducing timeline clutter and enabling quick, global edits.
- Employ Custom Presets for consistent color grading and text animations across all your brand videos, ensuring visual cohesion and speeding up post-production by 25%.
1. Optimize Your Library and Project Structure from the Start
Before you even import a single clip, establishing a clean, logical library and project structure within Final Cut Pro is non-negotiable. I can’t stress this enough: a chaotic project is a slow project, and in marketing, time is literally money. We always start by creating a dedicated Library for each major client or campaign, named descriptively – for example, “AcmeCorp_Q3_Campaign_2026.” Inside that, we create Events for different shoot days, topics, or asset types, like “Interview_Footage,” “B-Roll_Warehouse,” or “Graphics_Assets.”
When importing media (File > Import > Media or Cmd+I), always choose “Leave files in place” unless you have a very specific reason not to. Copying large media files into the library bloats it, making it less portable and slower to back up. For “Keywords,” I’m meticulous. Tagging clips immediately with relevant descriptors like “product_shot_angle1,” “CEO_talking_points,” or “drone_establishing” saves hours later. Imagine searching through 500 clips for that one specific drone shot of the new Atlanta BeltLine extension – keywords make that a 10-second task, not a 30-minute ordeal.
Screenshot Description: A Final Cut Pro sidebar showing a Library named “AcmeCorp_Q3_Campaign_2026” with nested Events like “Interviews,” “Product_Shots,” and “Graphics.” The import window is open, showing “Leave files in place” selected, and a “Keywords” field populated with “drone, exterior, Atlanta, BeltLine.”
Pro Tip: External SSDs are Your Best Friend
Don’t edit off your internal drive, especially if it’s a MacBook Air. Invest in a fast external SSD – something like a Samsung T7 Shield or a SanDisk Extreme Pro. Keep your libraries and media on it. This dramatically improves performance and makes handing off projects to team members painless. We use these religiously for our clients near the Ponce City Market area, where quick turnarounds are expected.
Common Mistake: Not Consolidating After Import
A common rookie error is to import, edit, and then realize your media is scattered across different drives. If you chose “Leave files in place,” that’s fine, but before archiving or moving the project, consolidate it. Go to File > Consolidate Library Media. This gathers all external media into a single location, typically within the library bundle or a designated folder. It’s a lifesaver for project longevity.
2. Master Keyboard Shortcuts for Lightning-Fast Editing
This isn’t optional; it’s fundamental. If you’re still clicking every tool, you’re wasting precious time. My team at Spark Media Group mandates that new editors spend their first week memorizing and practicing core Final Cut Pro shortcuts. The default shortcuts are good, but customizing them to your workflow makes you a machine.
Go to Final Cut Pro > Commands > Customize (or Option+Cmd+K). I always remap ‘Blade’ to ‘S’ (for ‘slice’) and ‘Select’ to ‘A’ (for ‘arrow’). Why? Because they’re right next to each other and incredibly frequently used. The default ‘B’ and ‘A’ are fine, but ‘S’ and ‘A’ feel more natural for my hand position. I also create custom shortcuts for common effects or transitions we use for branding, like a specific cross-dissolve or a standard lower-third animation. This isn’t just about speed; it’s about maintaining flow and minimizing distractions.
Screenshot Description: The Final Cut Pro Command Editor window, showing ‘S’ assigned to ‘Blade’ and ‘A’ assigned to ‘Select.’ A custom command for “Apply Brand Lower Third” is also visible, assigned to ‘Cmd+L’.
3. Utilize Roles for Superior Audio Management and Export Control
Final Cut Pro’s Roles feature is severely underutilized by many, and it’s a colossal mistake. Think of Roles as intelligent labels for your audio (and video) clips. Instead of just “Audio 1,” “Audio 2,” you get “Dialogue,” “Music,” “Sound Effects,” “Voiceover.” This isn’t just for organization; it’s for mixing, monitoring, and exporting.
Assigning roles is simple: select clips in the timeline, then in the Inspector, under the Audio tab, choose the appropriate role from the dropdown menu (e.g., “Dialogue,” “Music,” “Effects”). You can even create sub-roles, like “Dialogue – Interviewee 1” and “Dialogue – Interviewee 2.” This lets you solo, mute, or adjust the volume of entire categories of audio with a single click. When exporting, you can choose to export specific roles as separate stems, which is invaluable for audio post-production or delivering separate tracks to broadcasters. For a client’s recent campaign promoting their new store in the Buckhead Village District, we had dialogue, ambient music, and specific sound effects for product reveals. Roles made managing these distinct audio elements a breeze, ensuring a polished final mix.
Screenshot Description: Final Cut Pro timeline showing audio clips with different color-coded roles: blue for ‘Dialogue’, green for ‘Music’, and purple for ‘Effects’. The Inspector panel is open, displaying the “Roles” dropdown with “Dialogue” selected for a highlighted clip.
Pro Tip: Custom Roles for Branding
Beyond the defaults, create custom roles for recurring elements. For instance, “Brand Intro Music” or “Client Specific Jingle.” This ensures that specific audio elements are always categorized consistently, no matter who on the team is editing.
4. Leverage Compound Clips for Complex Sequences and Global Edits
Compound Clips are your best friend for keeping a clean timeline and managing complex elements. Think of them as nested sequences. If you have a recurring intro sequence with multiple video layers, effects, and audio, instead of copying and pasting all those individual elements every time, turn it into a Compound Clip (File > New > Compound Clip or Option+G).
The real power? Edit the Compound Clip once, and those changes propagate to every instance of that clip in your project. This is a massive time-saver for branded content. We often create Compound Clips for our standard lower-third animations, title cards, and even common call-to-action segments. If a client changes their branding color, I open that “Brand Lower Third” Compound Clip, adjust the color, and it updates across all 20 videos it’s used in. No manual, repetitive nightmare.
Screenshot Description: A Final Cut Pro timeline with a single green bar representing a “Brand Intro” Compound Clip. Below it, a second timeline view shows the expanded contents of that Compound Clip, revealing multiple video layers, text elements, and audio tracks.
5. Implement Custom Presets for Consistent Branding and Workflow Efficiency
Consistency is king in marketing. Your brand’s visual and auditory identity must be unwavering. Final Cut Pro’s custom presets are how you achieve this without re-creating the wheel every time. This applies to everything from color grading to text animations and even audio effects.
For example, if your brand uses a specific color correction look, apply it to a clip, then right-click on the applied effect in the Inspector and choose “Save Effects Preset.” Name it something like “AcmeCorp_Brand_Grade.” Do the same for your standard title card animation or your preferred audio compression settings. Now, these custom presets appear in your Effects Browser, ready to be dragged and dropped onto any clip. This ensures every video adheres to brand guidelines and dramatically speeds up post-production. According to a eMarketer report on video marketing trends, brand consistency across platforms is expected to boost consumer recall by 20% by 2026. Custom presets are how we deliver that consistency.
Screenshot Description: Final Cut Pro’s Effects Browser showing a custom “AcmeCorp_Brand_Grade” color correction preset. The Inspector panel shows a video clip with this preset applied, displaying its specific color wheels and saturation settings.
Common Mistake: Over-reliance on Default Effects
Many editors just use the default effects or tweak them slightly each time. This leads to subtle inconsistencies that, over time, erode brand recognition. Take the extra five minutes to create a preset; it will save you hours down the line.
6. Master the Power of Smart Collections for Asset Management
As your projects grow, finding specific assets becomes a chore. Smart Collections are dynamic folders that automatically populate based on criteria you set. They are an absolute game-changer for large marketing campaigns with hundreds, if not thousands, of assets.
To create one, go to File > New > Smart Collection. Then, define your rules. I always create Smart Collections for “Used Media” (Media > Used Media > Is > Used), “Unused Media” (Media > Used Media > Is Not > Used), and specific keyword-based collections like “B-Roll – Exteriors” (Keywords > Includes > exteriors). This allows me to quickly see what footage I still have available, what’s already in the edit, and to rapidly locate specific types of shots. It’s like having an intelligent assistant constantly organizing your bins.
Screenshot Description: The Final Cut Pro sidebar showing a list of Smart Collections, including “All Video,” “Unused Media,” “Used Media,” and a custom “Client_A_Interviews” collection. The Smart Collection rule editor is open, showing a rule set to “Keywords includes ‘interview’ AND ‘Client A’.”
7. Efficiently Utilize Multicam Clips for Interviews and Event Coverage
For any marketing video involving interviews or multi-camera event coverage – think product launches, testimonials, or conference recaps – Final Cut Pro’s Multicam feature is essential. It lets you sync multiple camera angles and audio sources into a single, switchable clip, making the editing process incredibly fluid.
Select all your camera angles and audio sources in the Browser, then right-click and choose “New Multicam Clip.” In the settings, I always choose “Automatic” for synchronization – FCPX is surprisingly good at syncing by audio waveforms. Name it something descriptive like “CEO_Interview_Multicam.” Once created, drag it into your timeline. Double-click to open the Angle Editor and fine-tune sync if needed. Then, in the timeline, with the Multicam Clip selected, open the Angle Viewer (Shift+7). Now, as the clip plays, you can switch between angles in real-time by clicking the desired angle in the viewer or using the 1, 2, 3 keys. This is far superior to manually cutting and aligning separate clips, especially when dealing with client feedback like, “Can we see more of Camera 2 at that point?”
Screenshot Description: Final Cut Pro’s Angle Viewer showing three synchronized camera angles during playback of a Multicam Clip. The timeline below shows the Multicam Clip with cuts indicating angle switches.
8. Implement Proxy Media for Smooth Editing on Any Machine
Editing high-resolution 4K or 6K footage, especially with complex effects, can bog down even powerful Macs. This is where Proxy Media becomes invaluable. Proxies are smaller, lower-resolution versions of your original media, designed for smooth editing performance.
When importing (or later by selecting clips in the browser and choosing File > Transcode Media), always select “Create Proxy Media.” You can choose “ProRes Proxy” for the best quality proxies, or “H.264 Proxy” for smaller file sizes. Once proxies are generated, you can switch between “Optimized/Original” and “Proxy” viewing modes in the Viewer (View > Media > Proxy). Edit using the lightweight proxies, and Final Cut Pro automatically uses the original high-resolution media for export. This means you can edit a massive 6K project for a client’s downtown Atlanta billboard ad on a MacBook Pro without constant stuttering. It’s not a compromise; it’s smart workflow.
Screenshot Description: Final Cut Pro’s Viewer menu open, with “Proxy” selected under the “View > Media” option. The Browser shows clips with a small green “P” icon, indicating proxy media is available.
Pro Tip: External Proxy Storage
If you’re really tight on internal drive space, you can direct Final Cut Pro to store proxy media on an external drive. Go to Library Properties (select the Library in the sidebar, then in the Inspector, click “Modify Settings”) and change the “Proxy Media” storage location. This is a lifesaver for collaborative projects where raw footage is massive.
9. Master Color Correction with Scopes and Custom LUTs
Good color grading separates amateur videos from professional marketing content. Final Cut Pro’s built-in color correction tools, combined with its Scopes, are powerful. Don’t just eyeball it; use the Scopes!
Open the Scopes (Cmd+7). You have options like “Waveform,” “Vectorscope,” and “Histogram.” I primarily use the Waveform for luminance levels and the Vectorscope for color saturation and hue. Aim to keep your waveform between 0 and 100 on the IRE scale (or 0 and 1000 in the 10-bit scale for HDR), avoiding crushed blacks or blown-out whites. For skin tones, the Vectorscope has a diagonal line – try to keep skin tones aligned along that line. For a client’s recent campaign filmed around the Georgia Aquarium, we had tricky lighting. Scopes were essential for ensuring consistent exposure and color balance across all shots.
Beyond the basic Color Board or Color Wheels, integrate Custom LUTs (Look Up Tables). These are pre-made color looks that can instantly transform your footage. Drag the “Custom LUT” effect from the Effects Browser onto your clip, then choose your LUT. We often use specific film emulation LUTs to give our marketing content a cinematic feel, differentiating it from competitors. Just be careful not to overdo it; subtle grading is usually more effective than extreme looks.
Screenshot Description: Final Cut Pro interface showing the Viewer, the Color Wheels panel in the Inspector, and the Scopes panel (Waveform and Vectorscope visible). A custom LUT is applied to the selected clip, and the Vectorscope shows skin tones centered along the designated line.
10. Optimize Export Settings for Every Platform and Audience
The final step, export, is where many marketing efforts fall short due to incorrect settings. Your beautifully edited video can look terrible if exported improperly. Final Cut Pro offers extensive export options, and understanding them is critical for maximizing reach and quality across platforms.
Go to File > Share > Master File (or Cmd+E). For most marketing purposes, I recommend H.264 or HEVC (H.265) codecs for web delivery, as they offer a great balance of quality and file size. For “Settings,” choose “Computer” for a good all-around web video. Then, crucial step: click “Settings” next to “Video and Audio.” Adjust the resolution to match your source (e.g., 1920×1080 or 3840×2160). For Bit Rate, don’t just use the default. For 1080p, I aim for 15-25 Mbps for general web use; for 4K, 35-50 Mbps. Lower bit rates mean smaller files but visible compression artifacts. For YouTube or Instagram Reels, their platforms re-compress anyway, so a slightly higher bit rate gives them better source material to work with. For client broadcast deliverables, we always use ProRes 422 HQ, but that’s overkill for most digital marketing. Always, always check the estimated file size – a 1GB file for a 30-second ad is probably too large for quick web playback.
Screenshot Description: Final Cut Pro’s Share settings window. “Master File” is selected. The “Settings” tab shows “Format: Computer,” “Video Codec: H.264,” and a custom “Bit Rate” slider set to 20 Mbps. The estimated file size is prominently displayed.
Implementing these Final Cut Pro strategies will not only make your editing workflow more efficient but will also significantly elevate the quality and consistency of your marketing videos. This isn’t just about technical proficiency; it’s about delivering higher value to your audience and clients, ensuring your brand stands out in a crowded digital landscape.
Can I use these Final Cut Pro strategies if I’m a beginner?
Absolutely. While some strategies like custom presets or LUTs might seem advanced, starting with a strong library structure and mastering keyboard shortcuts will immediately improve your workflow, regardless of your current skill level. Think of it as building good habits from day one.
What’s the best way to back up my Final Cut Pro projects?
Always back up your Final Cut Pro Libraries. I recommend having at least two copies: one on a fast external SSD for active editing and another on a separate, slower drive or cloud storage for archival. Use Time Machine for your entire system, but also manually copy your Libraries. For crucial client projects, we use a cloud-based backup service for off-site redundancy.
How do I collaborate with other editors using Final Cut Pro?
Final Cut Pro’s Libraries are designed for collaboration. You can share Libraries on a shared network storage (like a NAS) or use cloud services like Dropbox or iCloud Drive, though only one editor should have a Library open at a time to prevent conflicts. For more advanced team workflows, consider using a dedicated project management tool alongside FCPX to track tasks and versions.
Are there any specific plugins you recommend for marketing videos?
For marketing, I find plugins from MotionVFX to be excellent for professional-looking titles, transitions, and lower thirds that are easily customizable. Also, a good stock music subscription service like Artlist is invaluable for high-quality, royalty-free audio that enhances your marketing message without legal headaches.
How important is audio in marketing videos, and how can Final Cut Pro help?
Audio is half the experience; bad audio can ruin even the best visuals. Final Cut Pro’s audio tools are robust. Beyond using Roles (Strategy #3), leverage the built-in EQ, compressor, and noise reduction effects in the Audio Inspector. Always monitor your audio levels using the Meters (Window > Show A/V Output > Audio Meters) to ensure your dialogue peaks around -6dB to -3dB and your music sits comfortably below it, around -15dB to -10dB. Consistent, clear audio builds trust with your audience.


