Mastering Final Cut Pro for Marketing: A Professional’s Guide
Want to craft captivating video content that drives conversions and boosts your brand’s visibility? Final Cut Pro is a powerful tool, but mastering it requires more than just knowing the basics. This article provides a step-by-step walkthrough to help marketing professionals like you produce high-quality videos that resonate with your target audience. Are you ready to transform your video editing for marketing strategy?
1. Project Setup: Laying the Foundation for Success
The first step toward a successful video project is proper setup. Open Final Cut Pro and select “New Project.” In the settings window, pay close attention to the following:
- Resolution: For most online marketing content, 1920×1080 (HD) is sufficient. However, if you’re targeting 4K displays, consider 3840×2160.
- Frame Rate: 24fps or 30fps are standard for a cinematic look. For social media, 30fps or 60fps can be smoother, especially for fast-motion content.
- Codec: ProRes 422 is a great balance of quality and file size.
Name your project descriptively (e.g., “SummerSale_PromoVideo”) and choose a location on your hard drive with ample space. I can’t stress enough how important organization is at this stage. I had a client last year who lost hours of work because they didn’t properly name and organize their files from the start.
Pro Tip: Create a folder structure for your project with subfolders for footage, audio, graphics, and exports. This will save you headaches down the line.
2. Importing and Organizing Your Media
Now it’s time to bring in your raw materials. In Final Cut Pro, go to “File” > “Import” > “Media.” Navigate to your footage folder and select the clips you want to use. When importing, consider these options:
- Leave Files in Place: This is generally recommended to save storage space, but ensure your source files are backed up.
- Create Optimized Media: This can improve playback performance, especially with 4K footage. However, it will increase file size.
- Create Proxy Media: This creates lower-resolution versions of your clips for editing, which can significantly speed up your workflow on less powerful machines.
Once imported, organize your clips into Keywords and Smart Collections. Keywords are simple tags you can add to clips (e.g., “Interview,” “Product Shot,” “B-Roll”). Smart Collections automatically group clips based on criteria you define (e.g., all clips with the keyword “Interview” or all clips shot on a specific date). Trust me, this is a lifesaver when you’re working with dozens of clips.
Common Mistake: Neglecting to organize your media from the start. It’s tempting to jump right into editing, but spending a few extra minutes on organization will pay off big time later.
3. Basic Editing: Building Your Story
With your media imported and organized, it’s time to start assembling your video. Drag and drop clips from the Browser (where your media is stored) onto the Timeline. Use the following tools to refine your edit:
- Blade Tool (B): Cuts clips into smaller segments.
- Select Tool (A): Selects and moves clips.
- Trim Tool (T): Adjusts the in and out points of clips.
- Position Tool (P): Moves clips without affecting their duration.
Pay attention to your pacing. Vary the length of your shots to keep viewers engaged. Use transitions sparingly; a simple cut is often more effective than a flashy dissolve. Experiment with different arrangements of your clips until you find the narrative flow that best tells your story. Don’t be afraid to kill your darlings — cut scenes that don’t advance the plot, even if you love them.
4. Color Correction and Grading: Enhancing Visual Appeal
Color correction is essential for achieving a professional look. Final Cut Pro offers a range of color correction tools in the Color Board. Start by correcting any exposure or white balance issues. Then, move on to color grading, which involves adding stylistic color adjustments to create a specific mood or aesthetic.
Consider using LUTs (Lookup Tables) to quickly apply a pre-defined color grade. You can find free and paid LUTs online, or create your own in applications like DaVinci Resolve. When using LUTs, adjust the intensity to avoid an overly stylized look. Remember, subtlety is key. I often tell my junior editors, “If you notice the color grade, it’s probably too much.”
Pro Tip: Use adjustment layers to apply color corrections and grades non-destructively. This allows you to easily make changes to the entire video without affecting individual clips.
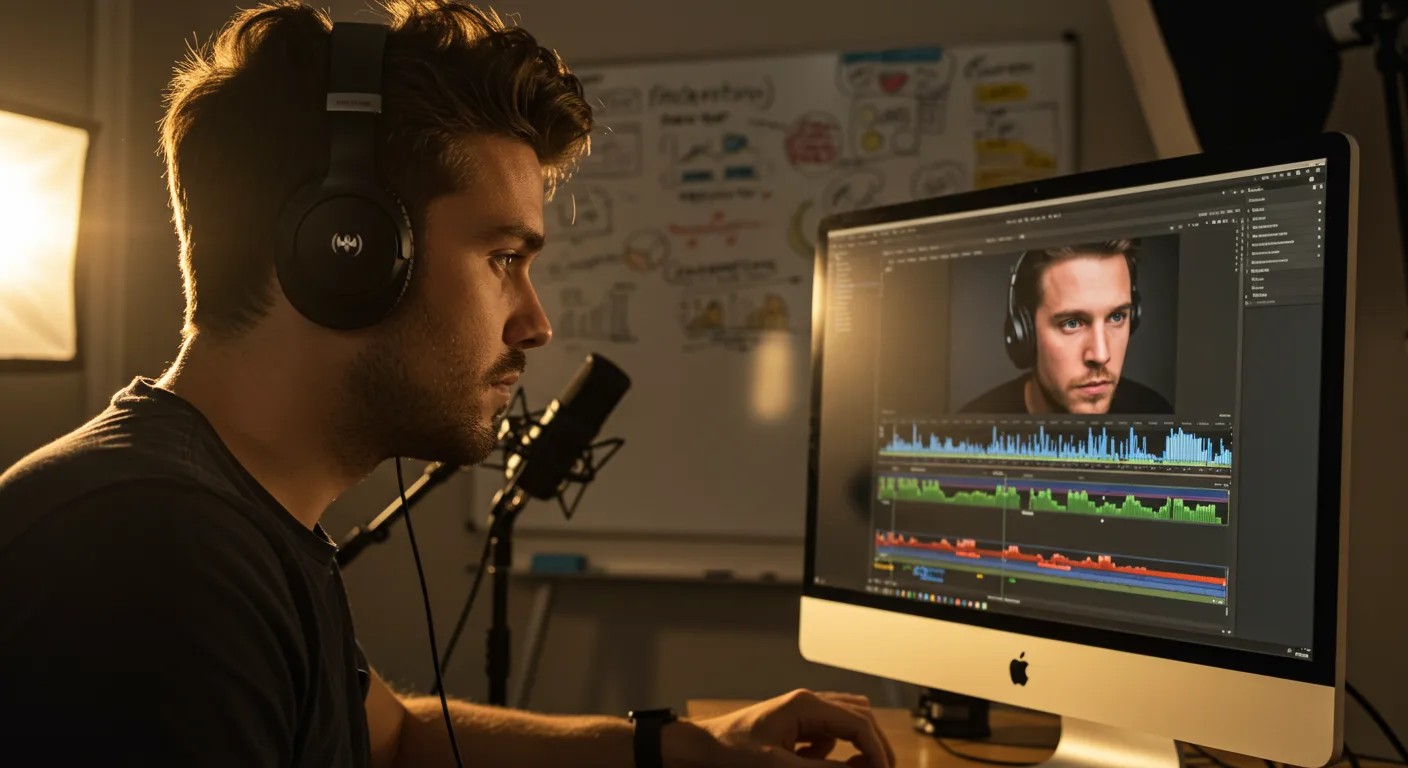
5. Audio Mixing and Mastering: Ensuring Clear and Engaging Sound
High-quality audio is just as important as visuals. In Final Cut Pro, use the Audio Inspector to adjust the levels of your audio tracks. Pay attention to the following:
- Dialogue: Ensure dialogue is clear and easy to understand. Use noise reduction and EQ to remove unwanted sounds and enhance clarity.
- Music: Choose music that complements your video and doesn’t overpower the dialogue. Adjust the volume levels to create a balanced mix.
- Sound Effects: Use sound effects to add impact and realism to your video. Be careful not to overdo it; too many sound effects can be distracting.
Consider using a dedicated audio editing application like Adobe Audition for more advanced audio mixing and mastering. Many video editors overlook the importance of audio, but a well-mixed soundtrack can make or break a video. According to a 2025 Nielsen study, videos with clear audio have a 23% higher completion rate than those with poor audio quality. See the Nielsen report here.
6. Titles and Graphics: Adding Visual Interest and Information
Titles and graphics can enhance your video and provide viewers with important information. Final Cut Pro includes a variety of built-in titles and graphics templates. You can also create your own using Motion or Boris FX Continuum.
When designing titles and graphics, keep the following in mind:
- Legibility: Choose fonts that are easy to read and use contrasting colors to ensure the text stands out against the background.
- Branding: Incorporate your brand’s colors, fonts, and logo to maintain a consistent visual identity.
- Animation: Use animation to add visual interest and guide the viewer’s eye. However, avoid overly complex animations that can be distracting.
A common mistake I see is using too many different fonts and colors. Stick to a consistent style throughout your video.
7. Exporting Your Video: Optimizing for Different Platforms
Once you’re happy with your video, it’s time to export it. In Final Cut Pro, go to “File” > “Share” and choose the appropriate export settings. Consider the following factors:
- Platform: Different platforms have different video specifications. For example, Meta recommends using H.264 codec, square pixels, fixed frame rate, progressive scan, and stereo AAC audio compression.
- Resolution: Export at the highest resolution supported by the platform.
- Codec: H.264 is a widely supported codec that offers a good balance of quality and file size. H.265 (HEVC) offers better compression but may not be supported by all platforms.
- Bitrate: Use a bitrate that is appropriate for the resolution and frame rate of your video. A higher bitrate will result in better quality, but also a larger file size.
For marketing videos, I generally recommend exporting in H.264 at 1920×1080 resolution with a bitrate of 10-12 Mbps. This will provide a good balance of quality and file size for most online platforms.
Common Mistake: Exporting your video with the wrong settings. Always check the platform’s specifications before exporting to ensure your video looks its best.
8. Review and Iterate: Refining Your Video for Maximum Impact
Before publishing your video, take the time to review it carefully. Watch it on different devices and platforms to ensure it looks and sounds good everywhere. Get feedback from colleagues or target audience members and make any necessary revisions.
Video creation isn’t a one-time effort. Track the performance of your videos and use the data to inform your future content strategy. Experiment with different formats, styles, and topics to see what resonates best with your audience. According to a 2026 IAB report, 73% of marketers say video is their highest-performing content type. Read the IAB report here.
Pro Tip: Create multiple versions of your video optimized for different platforms. For example, create a shorter, square version for Instagram and a longer, widescreen version for YouTube.
9. Backup and Archive: Protecting Your Valuable Assets
Finally, don’t forget to back up and archive your project files. Store your footage, project files, and exported videos in a safe place, such as an external hard drive or cloud storage service. This will protect your valuable assets from loss or damage. I had a situation a few years ago at my previous firm where we lost all the source files for a big client project. It was a nightmare that could have been avoided with proper backups.
Consider using a version control system like Git to track changes to your project files. This will allow you to easily revert to previous versions if necessary. To make sure you are not wasting time, read this article about stopping wasting time on marketing videos.
Frequently Asked Questions
What are the most important keyboard shortcuts in Final Cut Pro?
Some essential shortcuts include: B (Blade Tool), A (Select Tool), T (Trim Tool), Command + Z (Undo), Command + S (Save), and Spacebar (Play/Pause).
How can I improve my video editing workflow in Final Cut Pro?
Organize your media, use keyboard shortcuts, create custom presets, and learn to use the Magnetic Timeline effectively. Also, invest in a fast SSD for your project files.
What are some common mistakes to avoid when editing videos for marketing?
Overusing transitions, neglecting audio quality, failing to optimize for different platforms, and not paying attention to pacing are frequent errors.
How do I choose the right music for my marketing videos?
Select music that aligns with your brand’s identity, complements the video’s message, and doesn’t distract from the visuals or dialogue. Consider using royalty-free music libraries.
What are some resources for learning more about Final Cut Pro?
Apple offers official Final Cut Pro documentation and tutorials. There are also many online courses and communities dedicated to Final Cut Pro.
By following these steps and continuously refining your skills, you can unlock the full potential of Final Cut Pro and create marketing videos that captivate your audience and drive results. Don’t be afraid to experiment and find what works best for you. The key is to keep learning and improving. If you are a small business owner, then you may want to read this guide on marketing for small business owners. Also, if you want to create marketing videos that convert, then read this guide.


